Introduction
PuTTY is an open-source SSH and Telnet client initially developed for Windows and later ported to macOS. The client allows users to connect remotely to a computer and securely transfer files.
In this tutorial, you will learn how to install PuTTY on a machine running macOS.
Prerequisites
- A computer running macOS
- Administrator privileges
Install PuTTY
There are a few tools you need to install to get PuTTY working on macOS. To install dependencies, follow the steps below.
Step 1: Install Xcode
Xcode is a tool suite designed for developers, and installing it is a prerequisite for running PuTTY. The steps below explain how to install Xcode:
1. Open the App Store and type xcode:
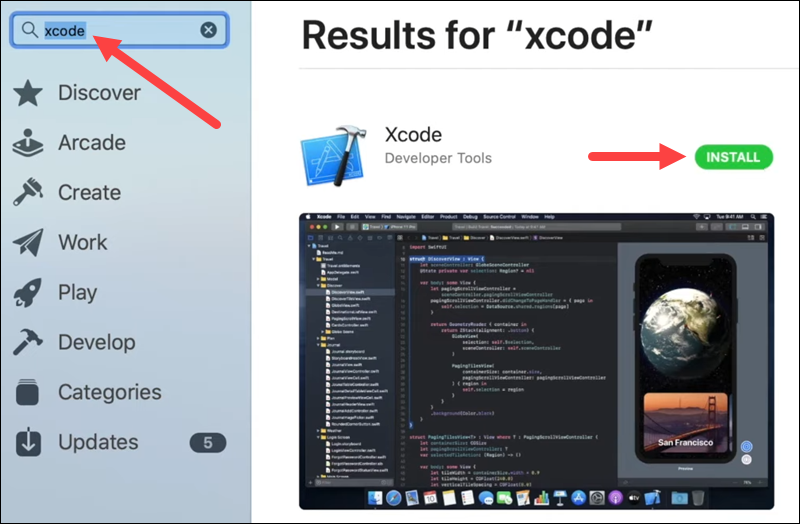
2. In the results, click the Get button on Xcode, and then click Install. Wait for the installation to finish.
Note: Use Xcode to manage packages on macOS. Read our tutorial to see how to install Git on Mac using Xcode.
Step 2: Install Command Line Tools for Xcode
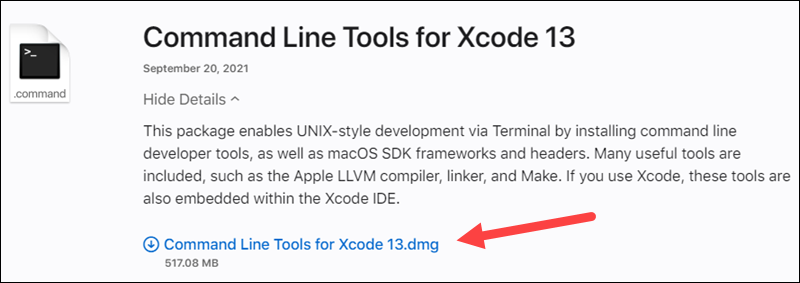
To use Xcode in the terminal, install Command Line Tools for Xcode.
1. Download the Command Line Tools for Xcode installation file from the official Apple developer website.
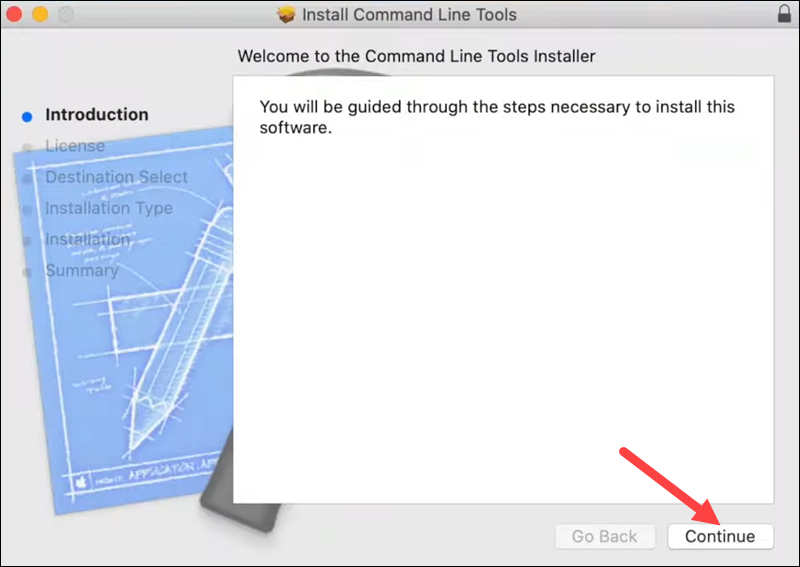
2. Double-click the downloaded .pkg file to start the installer.
3. In the welcome screen, click Continue to proceed with the installation.
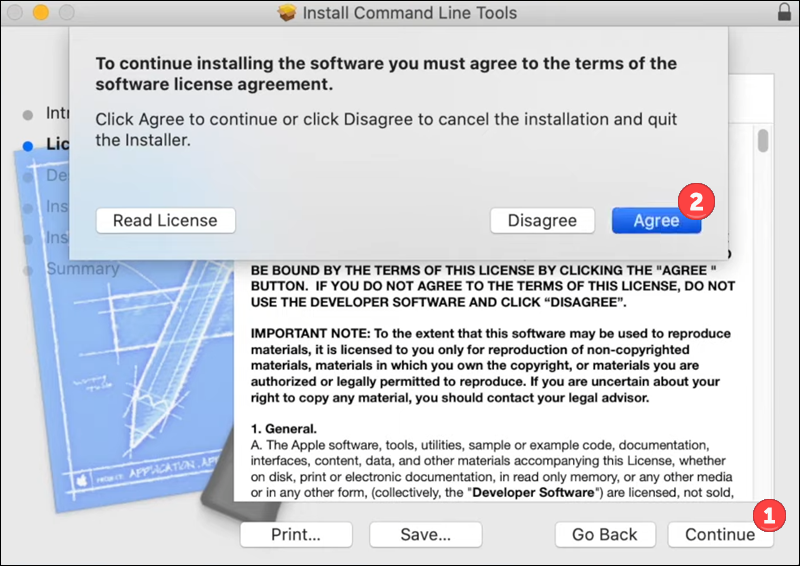
4. Read the terms of the software license agreement, and if you agree with them, click Continue, followed by Agree in the pop-up window.
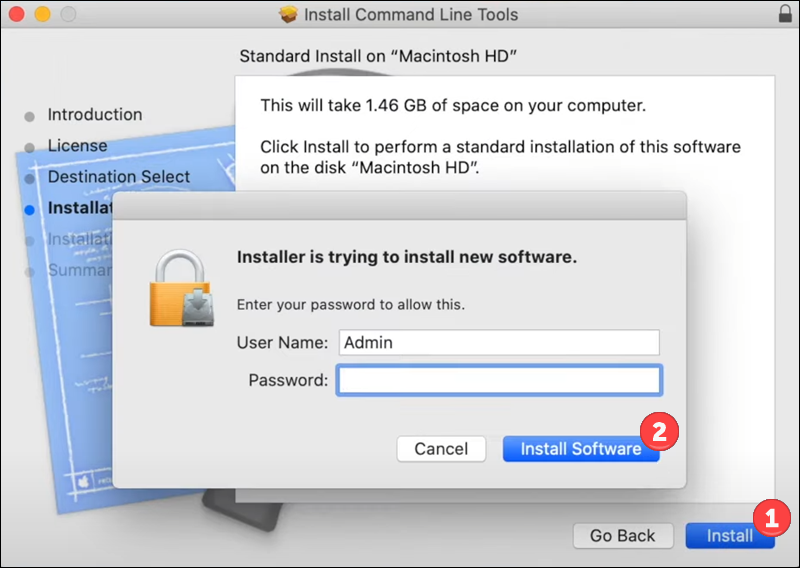
5. The installer indicates the disk space needed on your computer to install Command Line Tools. When ready, click Install. In the pop-up window, provide your administrator password to proceed with the installation and click Install Software.
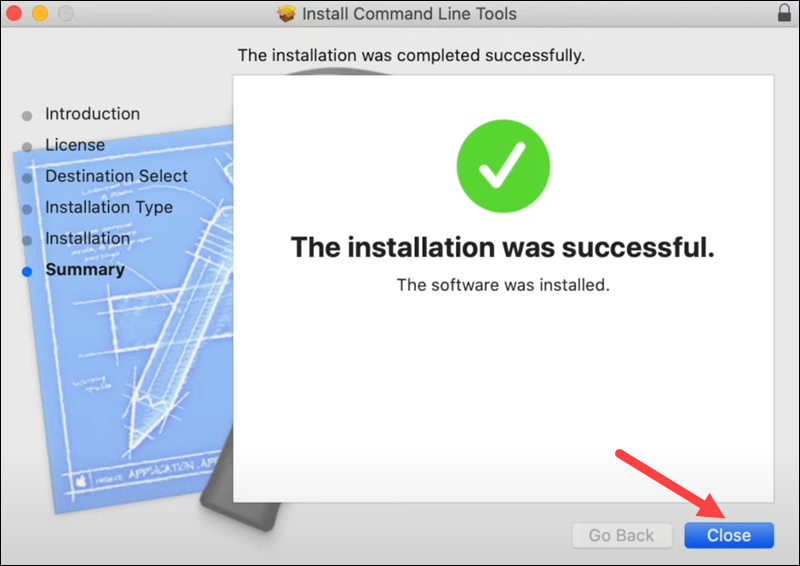
6. After the installation finishes, click Close to exit the installer.
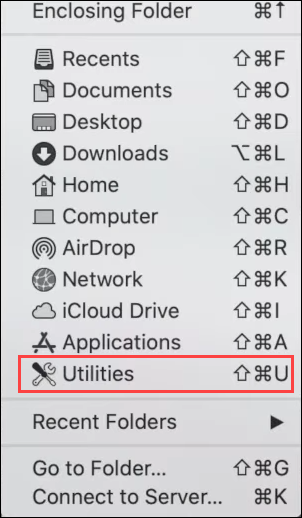
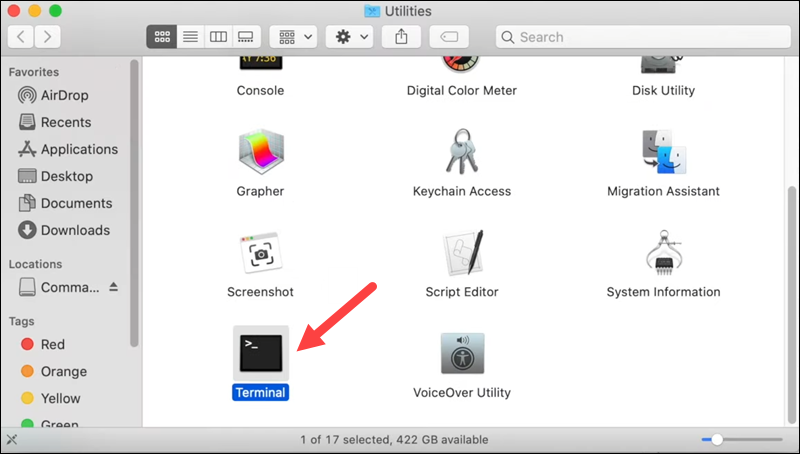
7. From the Finder, select Go and click Utilities to display all the utilities shipped with macOS.
8. Open the terminal by double-clicking the Terminal app icon.
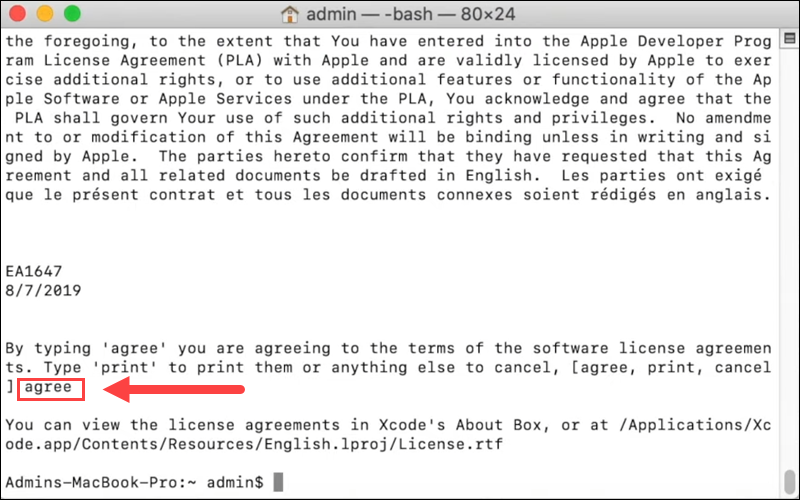
9. In the terminal, enter the following command to read and agree to the Xcode license:
sudo xcodebuild -license10. When prompted, press Enter to read the Xcode license. Type agree, and press Enter if you agree to the terms.
Step 3: Install MacPorts
The next step is to install MacPorts.
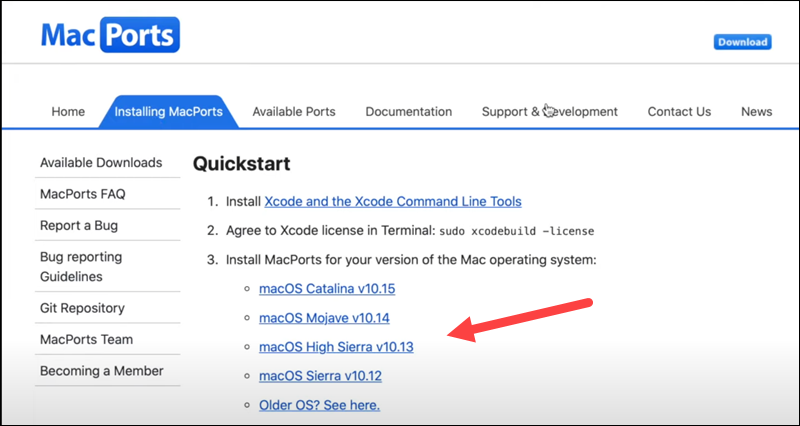
1. Download the MacPorts version for your OS from the official MacPorts website. When prompted, click Allow to allow downloads from the website.
Note: Just like Xcode, MacPorts can be used to manage packages on your system.
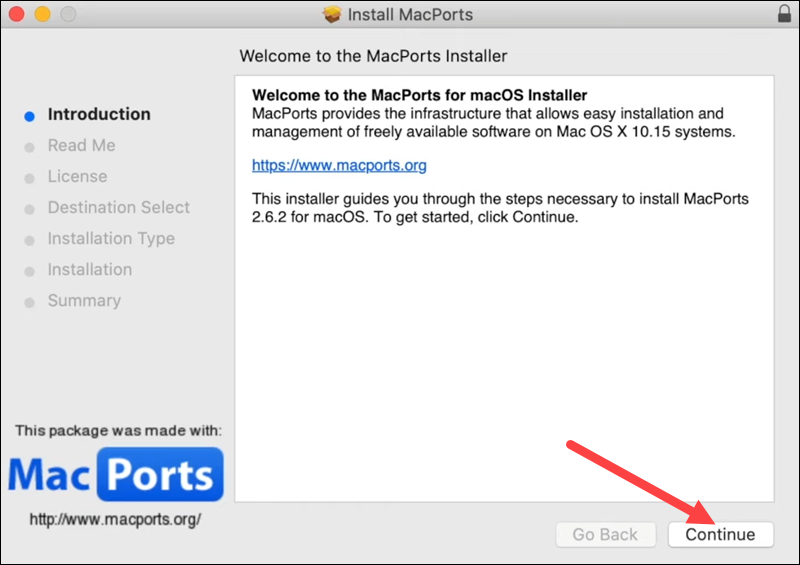
2. Open the installer by double-clicking the downloaded file.
3. In the installer welcome screen, click Continue to start the installation.
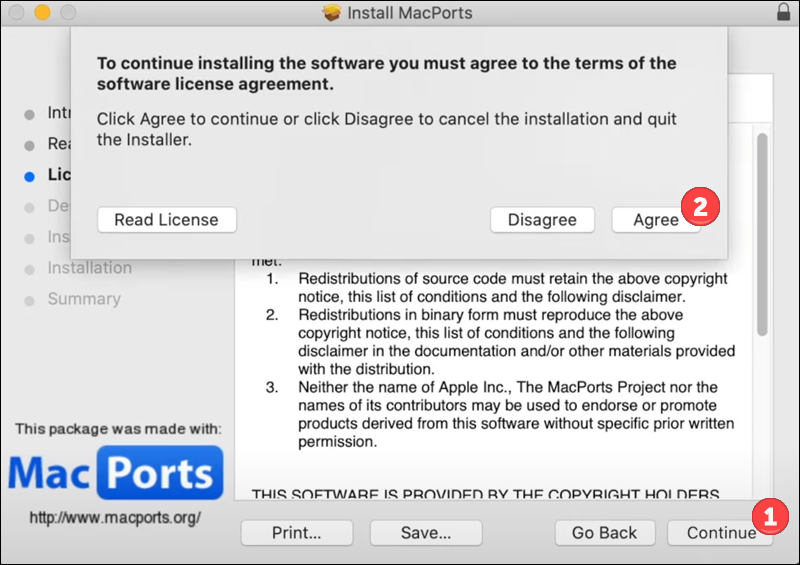
4. Read the terms of the software license agreement, and if you agree, click Continue. In the pop-up window, click Agree to proceed.
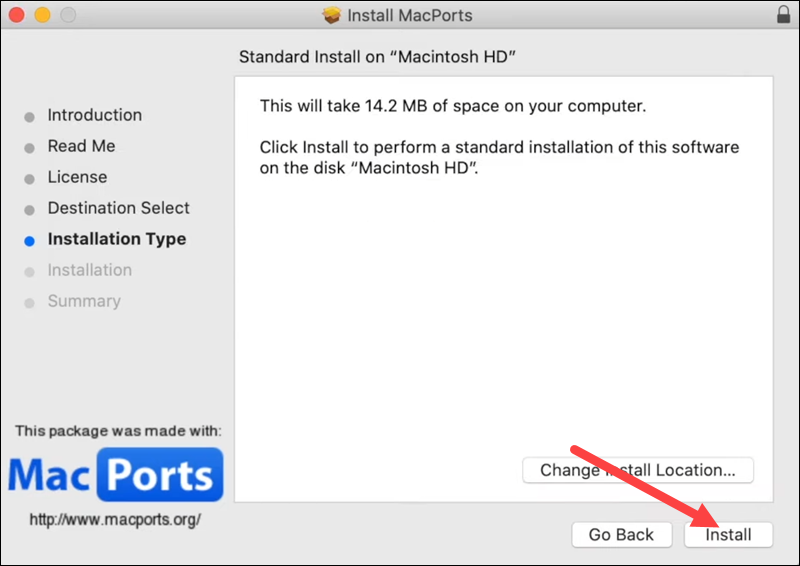
5. The installer indicates the space needed on your computer to install MacPorts and allows you to change the install location. Click Install to proceed with the installation.
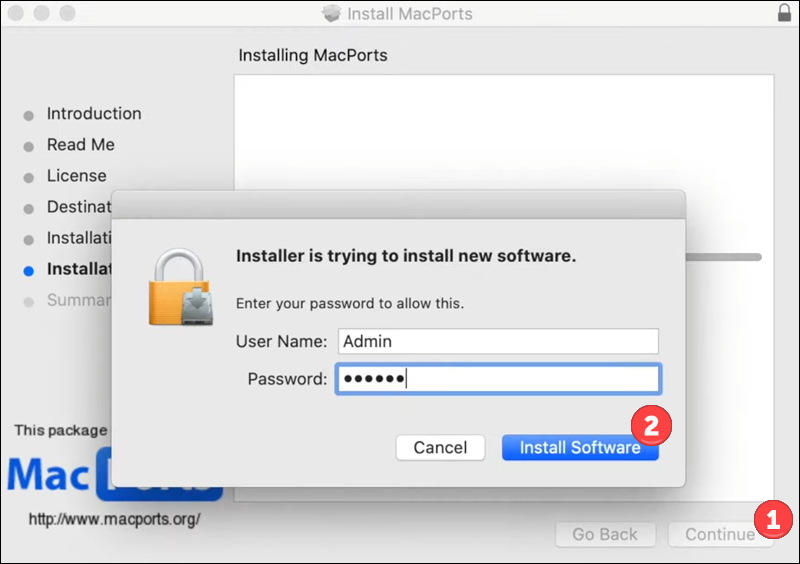
6. When asked, provide your administrator password, and click Install Software.
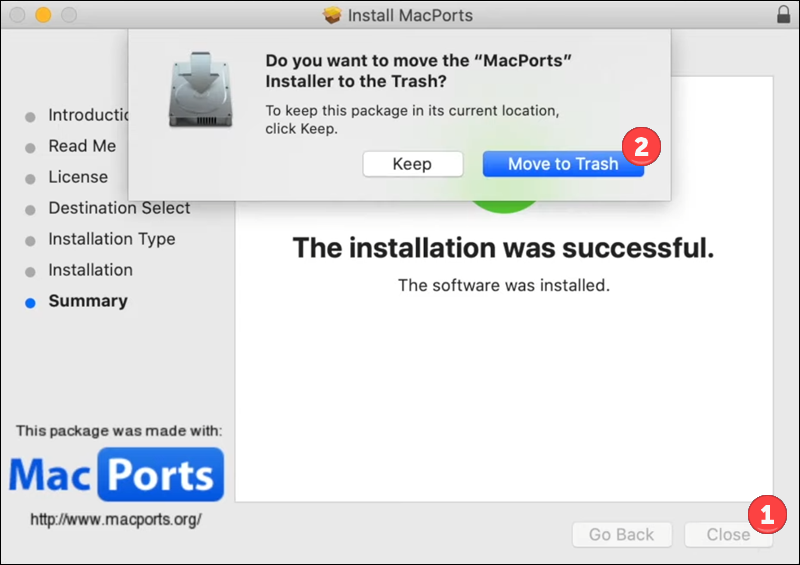
7. When the installation finishes, click Close. The installer asks if you want to keep the installer file. If you need it, click Keep. Otherwise, choose the Move to Trash option.
8. Open a terminal window ( Finder > Go > Utilities > Terminal) and run the following command to update your ports tree:
sudo port -v selfupdate9. Enter your password when prompted, and press Enter. Wait for the ports tree update to finish.
Step 4: Install XQuartz
The last step before installing PuTTY is to install XQuartz. XQuartz provides a windowing system for bitmap displays, common on Unix-like operating systems. The following steps show how to install XQuartz:
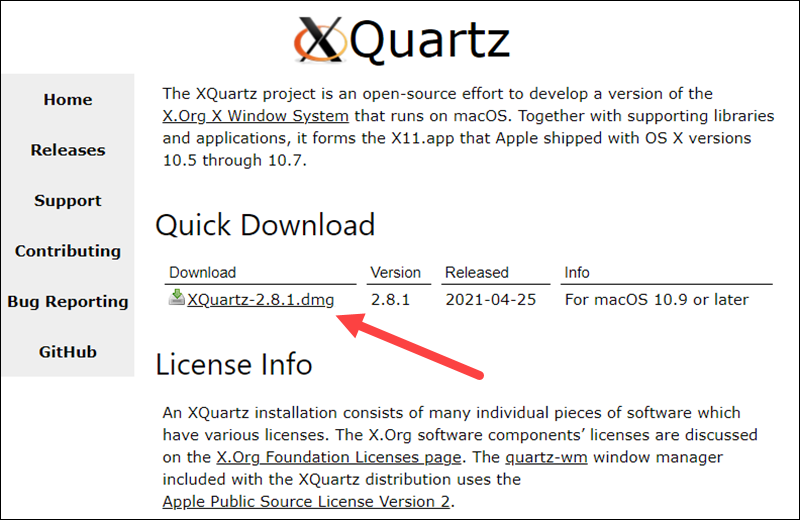
1. Browse to xquartz.org and download the XQuartz installer file. When prompted, click Allow to proceed with the download.
2. Double-click the downloaded file to run the installer.
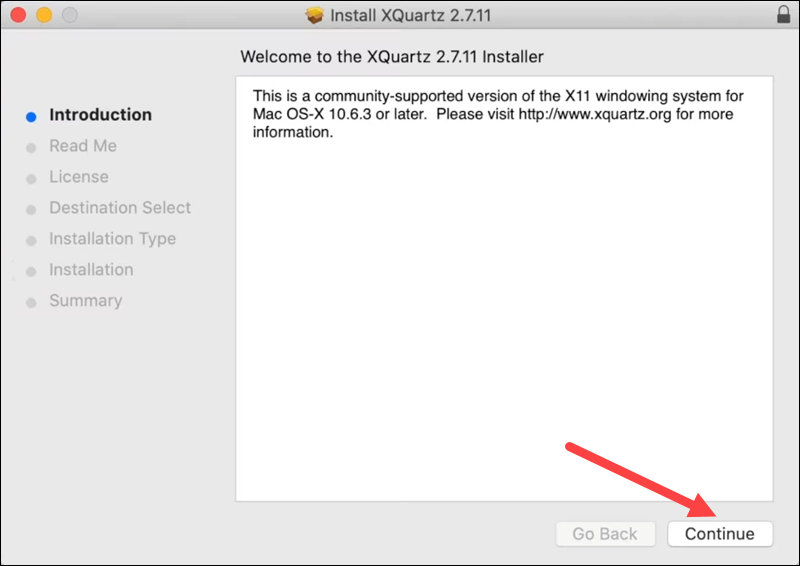
3. Click Continue in the installer Welcome screen to start the installation.
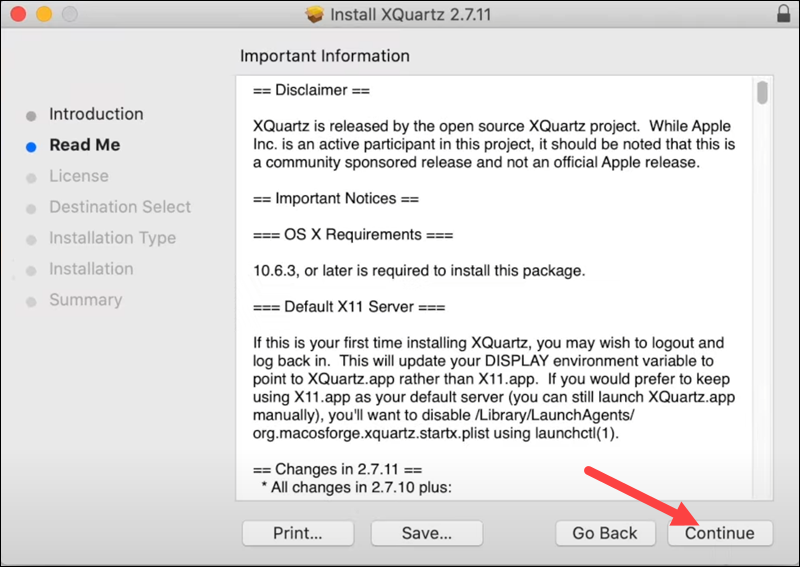
4. Read the developer notes and when ready, click Continue.
5. Review the terms of the software license agreement and click Continue, followed by Agree to proceed with the installation.

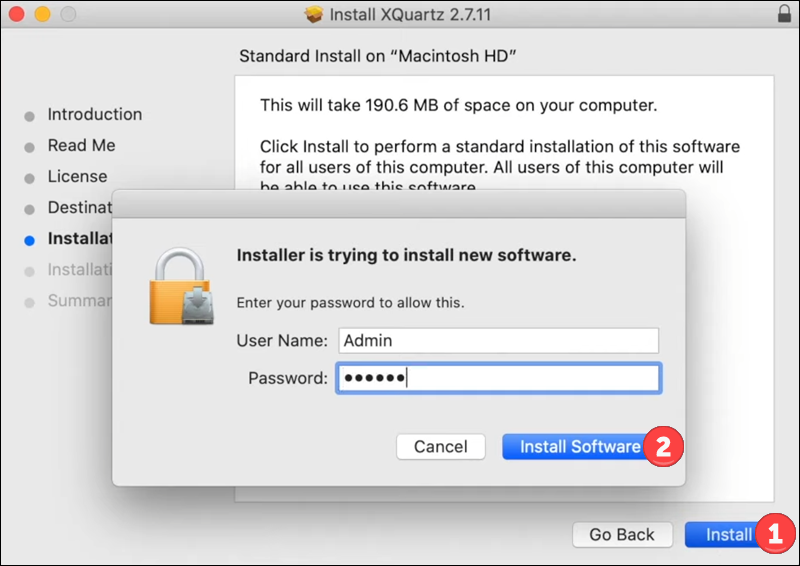
6. Click Install and enter your password to confirm. After entering your password, click Install Software in the pop-up window to proceed with the installation.
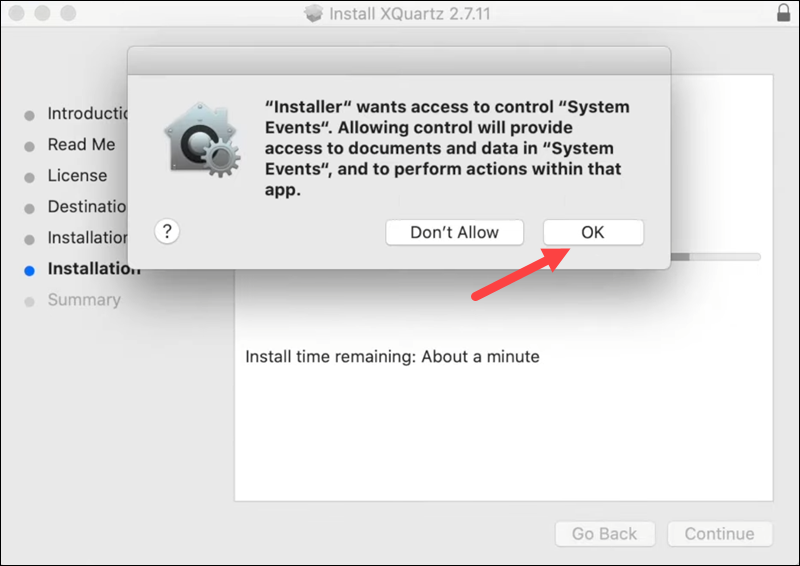
7. During the installation, you need to grant the Installer access to control "System Events." Click OK to proceed.
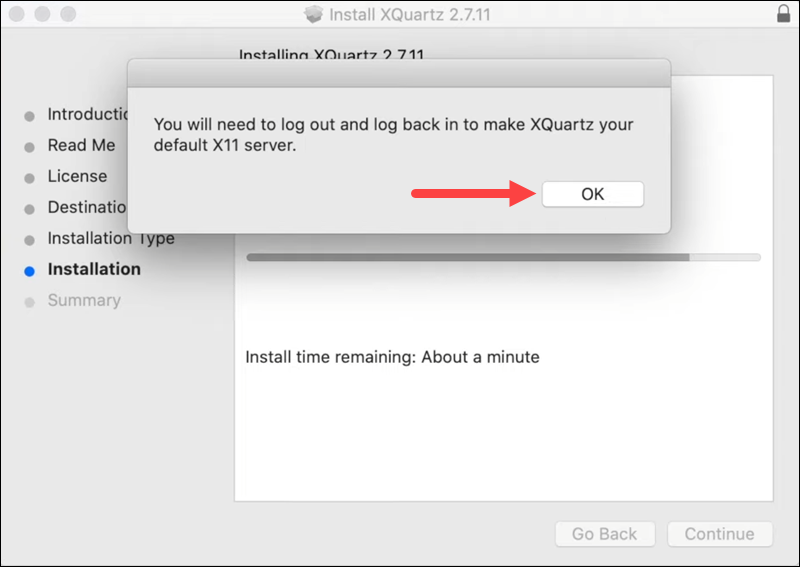
8. The installer notifies you that you need to log out and log back in to XQuartz to make it your default X11 server. Click OK to close the pop-up window and complete the installation.
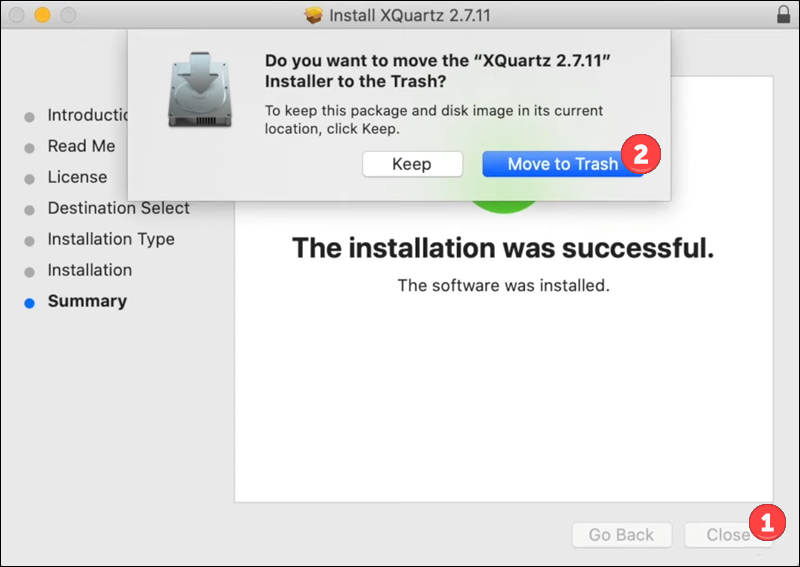
9. Click Close to exit the installer. When prompted, choose Keep to keep the installer file or Move it to trash.
Step 5: Install PuTTY
Now you are ready to install PuTTY on macOS.
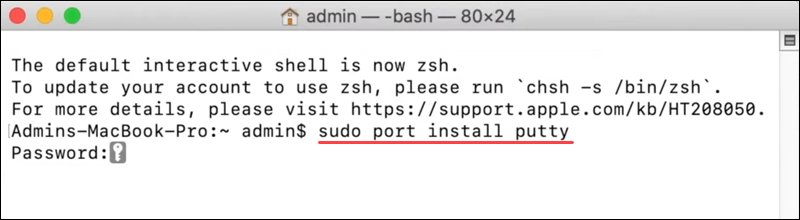
1. Open a terminal window (Finder > Go > Utilities > Terminal) and run:
sudo port install putty2. Enter your password and press Enter to confirm.
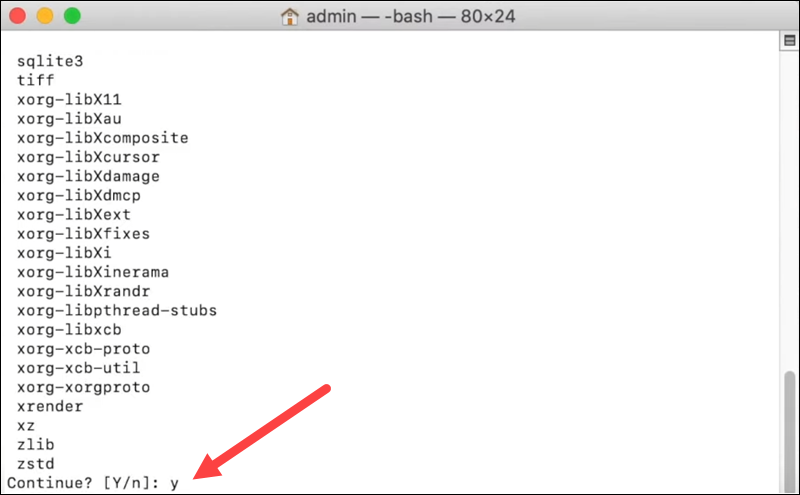
3. When asked if you want to continue with the installation, confirm by typing y and pressing Enter.
4. Wait for the installation to finish. When it completes, create a shortcut for PuTTY by running:
cp /opt/local/bin/putty ~/Desktop/PuTTYRun PuTTY
After installing PuTTY, you can run it in two ways:
- Enter the app name
puttyas a command in the terminal and press Enter.
- Double-click the Desktop shortcut icon.
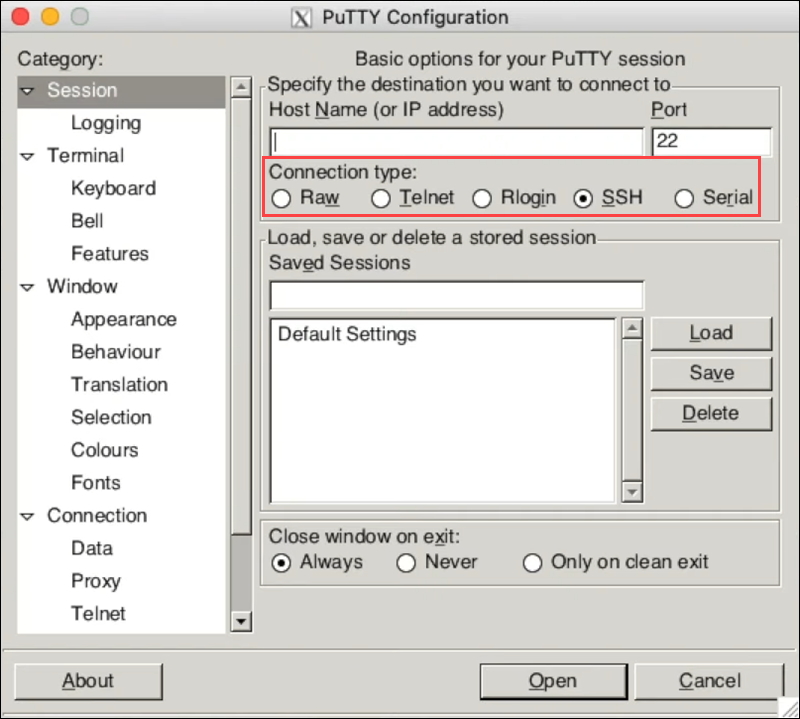
A configuration window opens where you can choose the connection type and set other options for your PuTTY session.
Conclusion
You now have a working PuTTY port on your macOS system. Use PuTTY to connect remotely to computers, access ports, and find and fix bugs.
For Ubuntu and Windows installation guides, check out our articles on installing PuTTY on Ubuntu and installing PuTTY on Windows.
